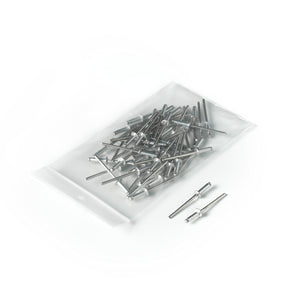
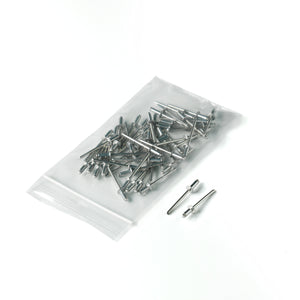
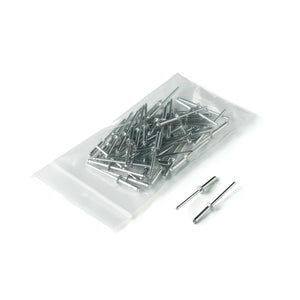
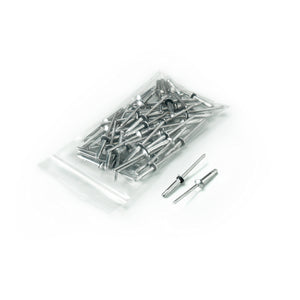
Rivet Guide
At Airstream, we like to tell people that there is an average of 4,000 rivets in every Airstream travel trailer. Small, mushroom-shaped pieces of hardware, each rivet requires a team of two during installation. One works on the outside with a rivet gun, the other inside with a bucking bar – tool that's held against the stem-end of the rivet as the rivet gun hammers away outside. The process flattens the stem-end, pinching the two pieces of aluminum together. But the result is one of the strongest, most permanent methods of attachment. They are highly resistant to loosening during vibration, and they are an essential way of joining hard-to-weld aluminum. That’s why rivets have always been the fastener of choice in the construction of every Airstream Travel Trailer in Jackson Center, Ohio.

In the unlikely event that you should need to replace rivets in your Airstream travel trailer, Airstream Supply Co. offers a variety of options. But it can be confusing figuring out which rivet you need for the job. With that in mind, we've created this handy guide to rivets.
Overview of Airstream Rivets
- Buck rivets: The solid rivets installed with a pneumatic gun at the factory to assemble the Airstream shell. Installation of buck rivets requires two-sided access.
- Olympic rivets: Manufactured by Olympic, these rivets most resemble the factory-installed buck rivets – but they can be installed by one person and don't require two-sided access.
- Blind rivets: Used for the inside skin attachment, curtain tracks, snaps mounting cabinetry and other inside trims, as well as in the belly pan. Note: Blind rivets are often referred to by the brand name POP® rivets.
- Huck rivets: Require two-sided access and special equipment for installation. Only used by Airstream to fasten roof and sidewall extrusions at the factory. These would rarely be installed after a unit leaves the factory.
Diagnosing Rivet Problems
In general, trim rivets are the first to wear. Once one trim rivet loosens, vibrations can c cause the other trim rivets to start shaking loose. Attending to trim rivet issues promptly can save a lot of time in the long run. A basic rivet gun and closed-end POP rivets are all you need to do the job.
Different than a buck rivet, a POP (or blind) rivet requires the use of a special POP Rivet Handgun to install. Each blind rivet has three parts – a shell that's inserted into the hole, the rounded-flat head, and the mandrel (a long stem that's pulled by the POP rivet gun in order to collapse the rivet).
Understanding the Rivet Coding System
For rivets you purchase from Airstream Supply Company, a unique coding system identifies the rivet material and size. Example:
All Airstream rivet codes begin with AD to signify they are Aluminum (A) and Dimple (D).
The two numerical digits 43 identify the shell diameter (4 = 4/32") and the grip range (3 = 3/32")
Finally, the last three letters ABS identify the material used in the shell (the cylindrical part of the rivet that's inserted into the hole) and the stem (the mandrel that is pulled out to collapse the rivet). The B in this code tells us it's a blind rivet, and the A tells us the shell is aluminum, and the S tells us the mandrel is made of steel.
Common Airstream Rivets
Olympic Rivet (Airstream Part # 682616-100-4)
Olympic rivets are designed to closely match the appearance of factory buck rivets when properly shaved after installation. Used on Airstreams since 1948, they’re ideal for quick and reliable repairs on aluminum-skinned travel trailers.
Required tools: Rivet gun, clamp for securing metal, drill and No. 20 or 21 drill bit, side cutter, rivet shaver.
AD68ABSLF (Airstream Part # 330034-100)
Different than a buck rivet, a blind or POP rivet requires the use of a special POP rivet handgun to install. This rivet is used in various applications such as the LP Tank Cover mounting bracket. This rivet is not accessible from both sides and can be installed without removing panels. Required tools: Rivet gun, clamp for securing metal, drill and drill bit for your type and size of rivet.
AD54ABSLF (Airstream Part # 330038)
These blind or POP rivets are specifically designed for use when installing the Airstream .035" x 65.75" aluminum coil underbelly. Engineered for secure, reliable fastening without requiring access to both sides of the material, they provide a durable solution for maintaining the integrity and performance of your trailer’s underbelly.
Required tools: Rivet gun, clamp for securing metal, drill and drill bit for your type and size of rivet.
AD43ABS (Airstream Part # 330127-030)
These 1/8" mill finish rivets are designed for various interior repairs in Airstream Travel Trailers.
Required tools: Rivet gun
AD45ABS (Airstream Part # 330127-050)
These 1/8" mill-finish rivets are designed for a variety of interior repairs in Airstream trailers. Ideal for restoring or repairing cabinets, trim, and other interior elements.
Required tools: Rivet gun
AD48ABS (Airstream Part # 330127-080)
This aluminum rivet is commonly used in the interior of Airstream trailers for secure and professional-grade fastening. Ideal for interior panels, trim, and light structural applications within your Airstream.
Required tools: Rivet gun
Not sure what rivet to use where? Always check our parts manuals for compatibility
Installing Instructions
-
-
- Protect the surrounding area from damage before drilling.
- Use a drill bit slightly the same size of the rivet
- Keep the drill perpendicular to the surface while drilling.
- Take care to prevent metal shavings from scratching the surrounding material.
- Remove any sharp edges or burrs so the rivet head sits flush against the aluminum.
- Set the rivet gun correctly, using the proper rivet set for the rivet head type.
-
Blind Rivets FAQ's
Blind rivets are two-part fasteners. The shell and the headed stem (Mandrel).
After placing in the right sized hole, the rivet shell is compressed by drawing the stem through the shell, which causes the shell to expand and clamp the material securely.
After the grip strength has been achieved the stem will break off and is discarded. When the stem brakes off the head remains trapped in the end of the shell to ensure the clamping force is retained in the joint.

It is recommended that you follow these steps in removing a blind rivet to keep from damaging the clamped material.
- Ensure the stem is well below the rivet head. If it appears to be flush, drive it below the head with a punch
- Select a drill bit with the same diameter as the recommended hole size for the rivet, and drill through the head until enough material is removed to separate the head from the shell.
- Punch the remainder of the shell clear of the clamped material.

Olympic Rivets
A guide on how to drill holes for installation, install the rivets, shave the rivet heads.
Installation
Required Tools:
- Screwdriver
- Punch
- Droll
- No. 20 drill bit
- Olympic "Hook" Guage
- Pulling Gun
Step 1: Drill Holes for Installation
We recommend XA 4167 .160/.164, No. 20 drill hole diameter for blind rivets
1. Hold drill at right angle to structure to obtain a round hole. (Refer to Figure 1 and 2.)

2. Lightly drill hole; avoid using excessive pressure while drilling to prevent distorting the structure. (Refer to Figure 2.)
Note: Use an Olympic “Hook” gauge to get a direct reading on the correct rivet grip length (refer to Figure 3). The metal thickness on the exterior shell is .040 gauge. Keep this in mind while determining the needed grip range.
Step 2: Install the Rivets
We recommend you use either an Olympic RV50 pulling gun or an RV36 with Olympic RV855-4 pulling heads.
1. Hold the gun in line with the axis of the hole to prevent the rivet from cocking in the hole. Exert firm pressure against the structure to obtain the proper rivet head seating (refer to Figure 4).
2. Make sure the installed rivets conform to the stem and collar protrusion limits (refer to Figure 5).

Step 3: Shave the Rivet Head
1. Cut the stem off the rivet before using the shaver.
2. Adjust the shaving tool to remove the minimum amount of metal necessary to clean up the rivet head. (Refer to Figure 6.)
Note: You won’t need to adjust the shaver every time you use it; adjust the shaver only when necessary.
- Loosen the safety locking ring approximately 3/16”.
- Push adjusting sleeve upwards to depress the spring and disengage setting mechanism.
- Turn foot piece clockwise to shave more metal off the rivet head.
- Retighten the safety-locking ring. Keep the shaver foot piece from rotating during shaving operation.
Note: Figure 7 shows a section through the rivet head before and after shaving as well as the correct adjustment for the shaving tool.

3. Shave the rivet head using the HS210 shaver (Figure 8) to give the appearance of a bucked rivet. (Refer to Figure 9.)

Removing Olympic Rivets
Use these instructions in the event you need to remove an improperly installed blind rivet.
1. Punch a drill start into center of head. (Refer to Figure 9.)
2. Using a No. 20 drill bit, drill through only the rivet head. The drill hole should be the same size as the rivet shank. (Refer to Figure 10.)
3. Push or drill out the remainder of the rivet. (Refer to Figure 11.)
Note: Be careful not to enlarge the hole in the structure.