


Removable Wallpaper Tools
Shipping calculated at checkout
Shipping FAQ
Shipping Carrier
Order Processing Time
Return Policy
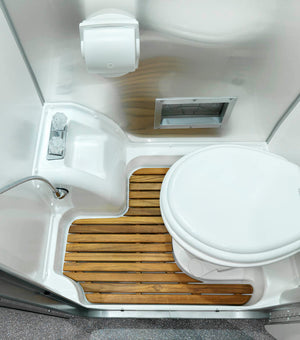
We love Tempaper for the way it allows you to add your own spin to your Airstream's interior décor. Easy to install – and easy to remove without any sticky residue – Tempaper comes in a variety of bold patterns and subtle color motifs.
To help you install Tempaper in your Airstream, we're offering two options to help with the process – a bundle of essential tools, and a stand-alone squeegee.

Product Features
How to Install Peel + Stick Wallpaper in Your Airstream
Easy to Install, Easy to Remove
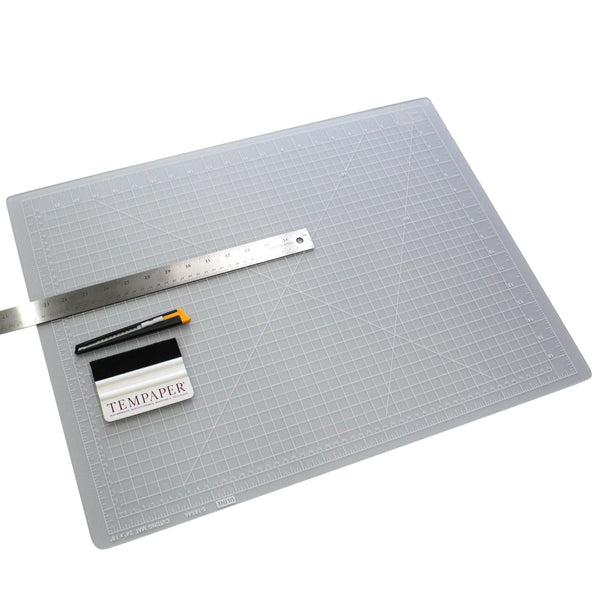
Step 1: Prepare Your Space and Gather Your Tools
Tempaper is easy to install with just a few tools you probably already have around the house. In addition to scissors, a measuring tape, and masking tape, you'll also need a utility knife and a squeegee (available in our convenient Removable Wallpaper Tool bundle, which also includes a self-healing cutting mat, and an aluminum yard stick).
Wipe down your application surface to clear it of debris. Then use masking tape to cover the edges of any fixtures or surfaces that your paper might overlap to prevent any snags.

Step 2: Measure the Space
Measure the surface you want to cover with Tempaper, and add an inch of bleed to each dimension to give you plenty of space to work.

Step 3: Cut to Size
Using the scissors, carefully cut panels to fit the application area. If you're installing a mural paper, make sure that you cut the paper so the patterns will line up across each panel.

Step 4: Line Up the Panel
Before you peel off the backing, line up your panels on the surface to make sure it's the right size. Use your fingers to press the paper around the edges, and then cut away an excess. Then, unpeel a small section of the backing at the top to expose the adhesive. Carefully align the paper and press the adhesive against the surface to begin hanging it. Use one hand to press the adhesive and another to hold the rest of the paper taut and away from the surface and prevent bubbles. Don't worry if it overlaps edges -- you can trim away excess later.

Remove more of the backing material as you apply your paper, working in small sections and smoothing down the paper with the squeegee. Move from the center to outside edges to work air bubbles out. When applying the paper around fixtures or walls, use the hard edge of the squeegee to press the material flush.
Step 5: Trim the Excess
Once all the paper has been applied, use the utility knife to carefully trim away the excess and cut away the door gaps (if you're applying paper to your overhead lockers or cabinets). If there are still bubbles, pull back the paper and use the squeegee to move the bubbles out.


VISIT THE MOTHERSHIP
Take a factory tour, step back through Airstream history in our Heritage Center, and grab some authentic Streamer gear.
MADE JUST FOR YOU
From custom-sized bedding to teak mats and replacement curtains we have all the custom goods that are made especially to fit your home on wheels.