


Airstream Printed Custom Curtains for International Signature Travel Trailers
Shipping calculated at checkout
Shipping FAQ
Shipping Carrier
Order Processing Time
Return Policy
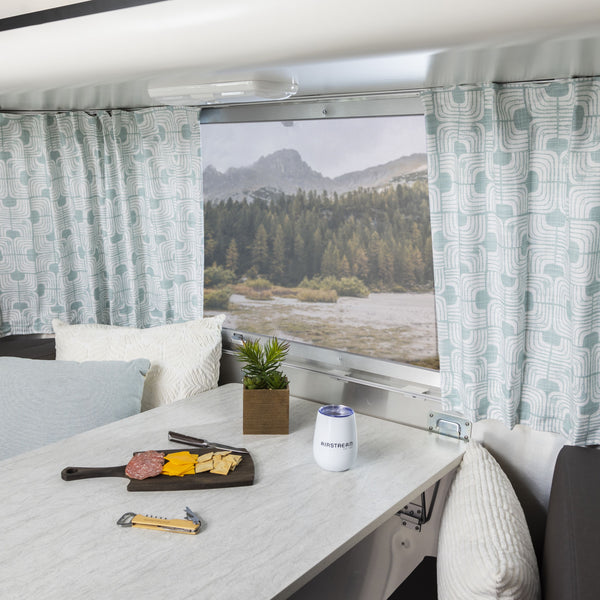
Add color, style, and personality to the interior décor of your Airstream International Signature with our Custom Replacement Curtains. Hand-made by experienced associates from Airstream's in-house sewing department, our curtain packages are easy to install in a few simple steps. Choose from ten different fabric patterns and a variety of coverage packages custom-made to perfectly fit the windows of your International Signature.
Pick from 10 Stylish Prints
 Not sure which fabric option to choose? Order your fabric sample here.
Looking for something more subtle? Also available solid color replacement curtains for your International Signature.
Product Features
How to Install Airstream Curtains
Step 1: Prepare Your Space
The only tool you need is a Phillips screwdriver. The first step is to remove any obstacles (like cushions) from the curtain area. Then unsnap the four buttons that hold the curtains to the wall of your trailer.
Curtain Sticker Abbreviations:
RS=Road Side: This is the side of your trailer opposite the door. If you were driving down the road, it would be the left side of your trailer on the inner side of the road.
CS=Curb Side: This is the side of your trailer with your door. If you were pulled up to a curb, this would be the right side of your trailer closest to the curb.
Step 2: Remove End Caps and Slide Out Curtain Glides
Using a Phillips screwdriver, carefully remove the screws from the ends of the curtain rails and remove the plastic end caps by pulling down.
Step 3: Install New Curtains
Carefully slide the curtain glides of your new curtains into the curtain rails, again alternating between top and bottom for best results.
When all the curtain glides have been slid into the curtain rails, gently press the plastic end cap back onto the curtain rail and re-secure the end cap with the screw. Finish by snapping the buttons in place.
Click here for a how to video on curtain installation

VISIT THE MOTHERSHIP
Take a factory tour, step back through Airstream history in our Heritage Center, and grab some authentic Streamer gear.
MADE JUST FOR YOU
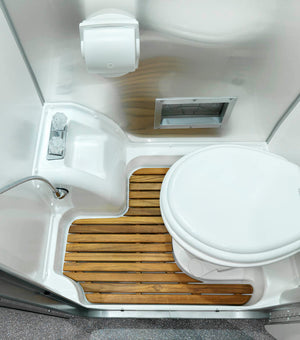
From custom-sized bedding to teak mats and replacement curtains we have all the custom goods that are made especially to fit your home on wheels.